

Table of contents


No headings in the article.
Over the weekend I got assistance to switch to a new Operating System since I have been using Manjaro Linux for over a year now I thought it would be great to try a new one and try out its features.
Since tomorrow is Monday I needed to make sure the system works as normal and I can access everything that I normally need for daily work experience so I had to start installing. I thought I should do an article putting down some basic requirements that I need for my day-to-day experience on my Personal Computer and how to install them in terms of guides or the articles I use over the day.
Browser: I already had Mozilla as the available one but I’m a fan of Brave Browser so I had to install it before moving to other basic requirements. The Brave website has an installation guide for Linux and I was targeting Debian, Ubuntu, and Mint, it has some commands that I was able to run on the terminal. After installing it I moved immediately to the new browser then started working from their browser and set the default search engine as Google (I like the search results UI and the user experience is familiar).
Setting up Gmail workspace: I had to add my personal email as the default and also accessed its calendar, I always like to bookmark them and show the bookmark below the tabs in order to ease navigation. I also added my work email checked its calendar, and bookmarked both. I had to check Slack through the work email, sign in, and bookmark it too. Tomorrow being Monday anything can go wrong.
Installed Node.js that came with npm, since I’m a software developer who often interacts with Javascript projects, this is a major prerequisite. From Nodejs official documentation for installing Node.js via Package Manager on Debian, Ubuntu, and Mint, I was redirected to Nodesource under distributions on GitHub and I was able to install it successfully.
NVM: I used an article on FreeCodeCamp to install it since they had a section with Linux/Mac so it made it easy to pick the command and run on the terminal.
Rust: I’ve been working on a project that needs Rust installed in order for the program to be successful so I need to install it. I’ve needed mixed reactions installing Rust recently so I checked a couple of websites in order to install it
Rust official website with install guides
An Article by Digital Ocean under their tutorials on How to Install Rust on Ubuntu 20.04.
Grammarly: As I’m writing this article I realize I have grammar errors “But why isn’t it being highlighted” I’ve been using Grammarly extension since 2020 when I joined a program that needed everyone to use the extension to help fix grammar and have you focusing on code and what’s beyond you. I’ve installed it here.
Git: It is a prerequisite for me as a developer to install Git. I used an article by GitHub on Git Guide: Install Git. I was more interested in commands that would be seamless to install without issues and those that support Ubuntu.
VS Code: VS code is a code editor by Microsoft that I frequently use so it’s part of the top list of requirements. I checked the VS Code official installation guides and also found an article: How to Install VS Code on Ubuntu? on Phoenixnap which was more elaborate and worked for me. At first, the official suggested downloading the Debian version but it didn’t work well so I opted for an option for installing using commands.
Setting up Github through Backup and Sync Setting: on VS code Github plays an important role in helping backup data from previous VS Code workspace from integrations like Jira/Bitbucket, and Wakatime (I was stressed I would have to look for Wakatime API Key once again), Workspace settings like background colors, extensions, spacing, etc. All this is synced once you click on the settings button > Backup and Sync Setting > Sign in with Github or Microsoft > Re-directed to Sign in to GitHub on the web once signed in the sync begins
Udemy: used the email invite and then bookmarked it.
Other websites with dashboards that can be accessed through sent email or credentials etc (can’t give details)
Spotify: this is helpful during coding. I had to install the Spotify Desktop. I used installation guides given on Spotify Installation Guidelines for Downloading on Linux.
Twitter, Gitlab, Linkedin, and Notion sign-in
Set up ongoing projects and made sure that it's working well since its sensitive to required dependencies.
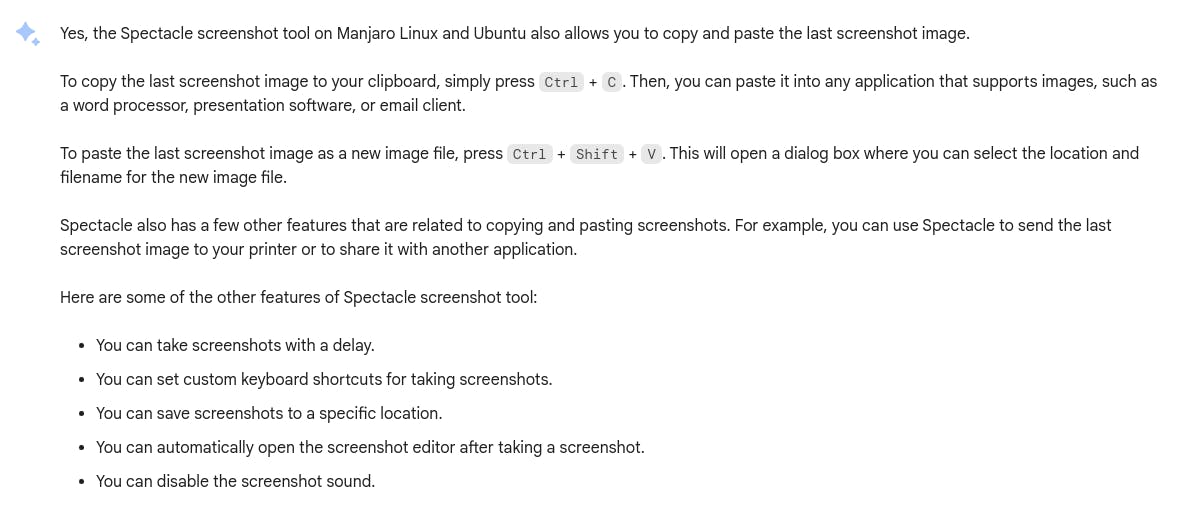
This took a couple of hours I know there are more browser extensions like Metamask and other dependencies that I will need to install but these felt like a priority for me. The new Ubuntu OS feels new to me as compared to what I’m used to on Manjaro Linux but I will give it a try till I get used to it. One thing I noted was the screenshot tool, Spectacle that is used on Manjaro Linux I thought it was a universal tool on all Linux OS. The last time I used Ubuntu I used to install a Screenshot tool extension but when I switched to Manjaro I didn’t have the extension anymore. I have Installed the tool but still figuring out how to make it the default screenshot taker. I learned more of it on Bard. I will attach it here.
Was more interested in GNOME

How to install the Spectacle Screenshot tool on Linux
$ sudo snap install spectacle

This was a most random article, it’s been a long since I wrote the previous article and thought I could document this journey. Thank you for reading this article I hope I will be able to write more and engage the technical writing community more. We can connect more on X formerly Twitter or Linkedin